How Add Style to Your Railing with Vinyl Lattice
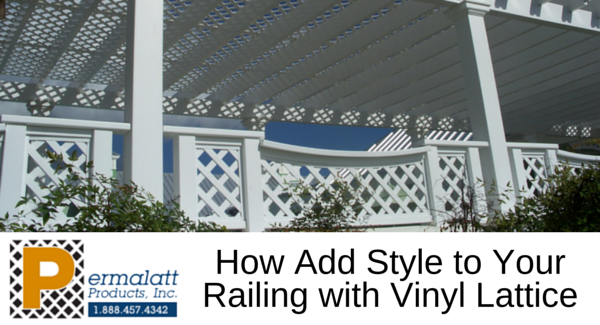
When we hear the word railing, most of us immediately think deck railing.
Then we picture the straight, plain spindles (balusters) beneath the rail. Well; let’s rethink all of this. Why not imagine the railing on a balcony, maybe somewhere to help create a separate space, or even along the stairs off of the side porch?
Then let’s imagine there is vinyl lattice beneath the railing instead of the common baluster. Now that’s the way to capture a one of a kind look for your railing. And remember, vinyl lattice can be used with any type of railing. Not just vinyl.
If we take a look at the basic railing terminology, we have the top rail, the bottom rail, the post and the balusters. Of course, there are other components such as the hardware kits and things, but these parts are the most obvious to the eye.
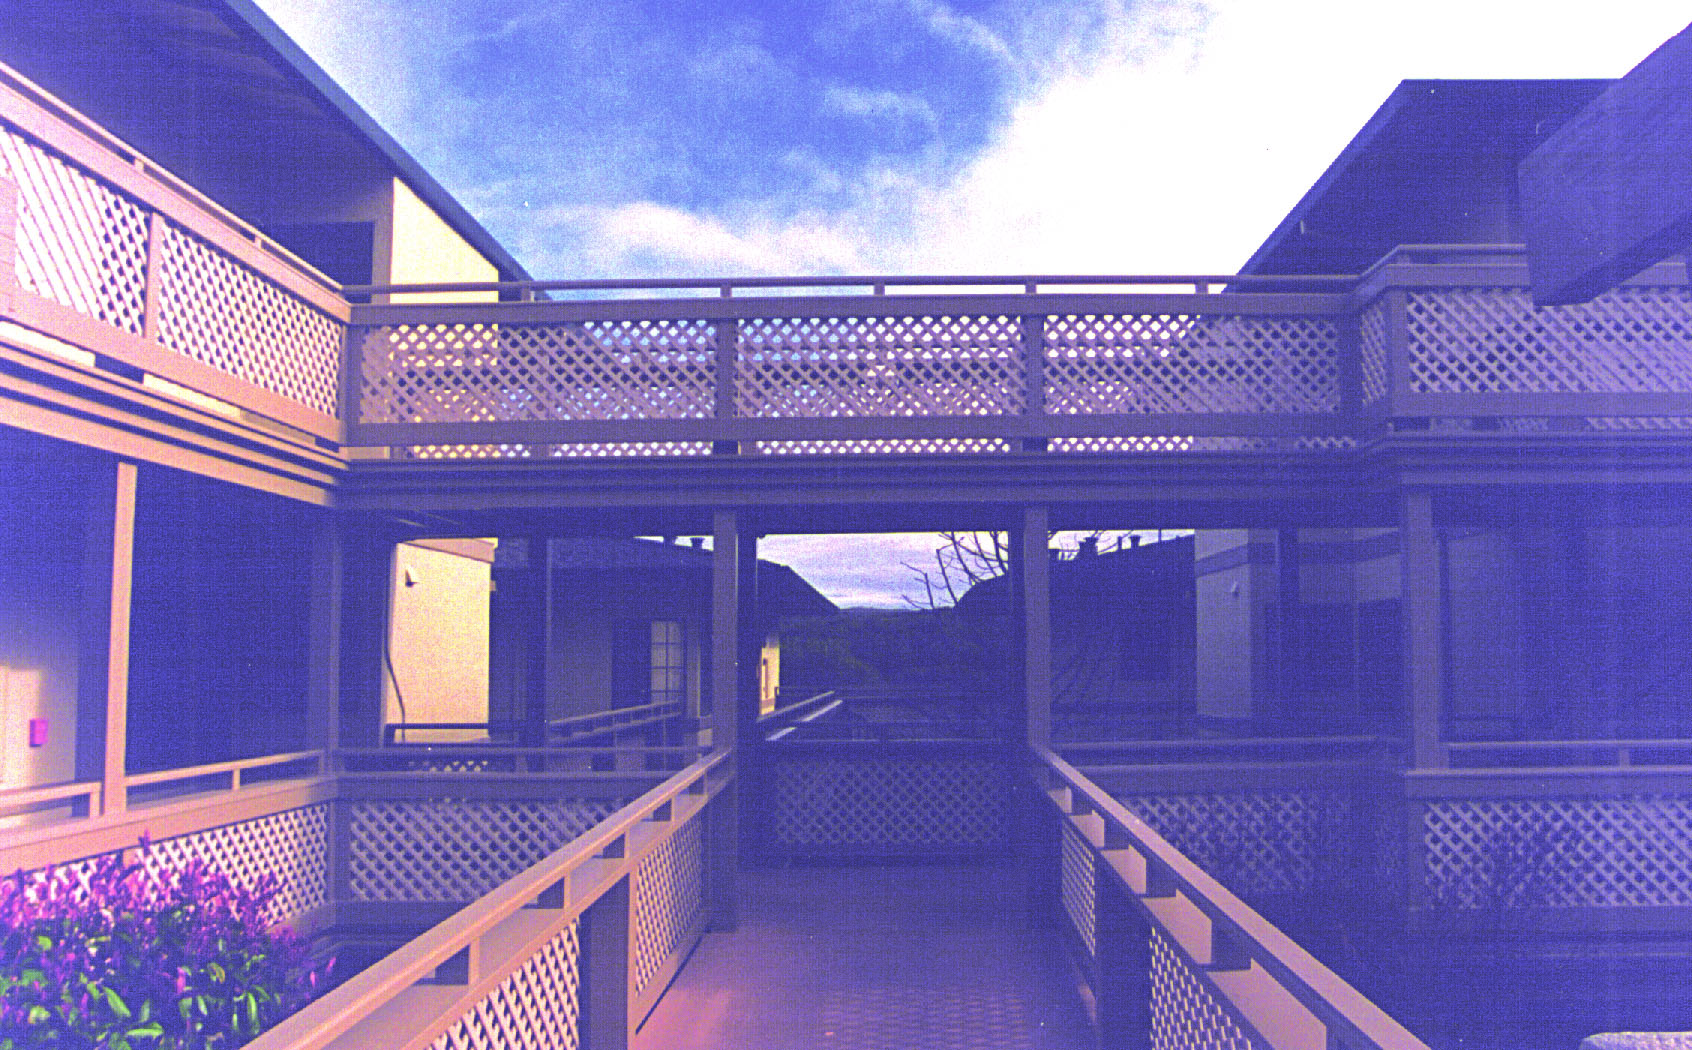
In a vinyl rail system, the top and bottom rails have pre-cut openings to receive the balusters. Now instead of choosing the balusters between the rails choose a high-quality premium vinyl lattice. You can choose between a square pattern and the diagonal pattern. Thus creating the look you want.
How is the lattice incorporated into the rail? You can simply choose a top and bottom rail that is used for fencing. There are some vinyl fences that have lattice toppers and come with a “groove” in rails to accommodate the lattice sheet. The lattice is then secured to the post with a u-channel.
Or you can use a standard vinyl rail and use a u-channel the secure the lattice piece along the top and bottom rail. As well as use the u-channel to connect the lattice to the post. In other words, frame the lattice sheet with the channel.
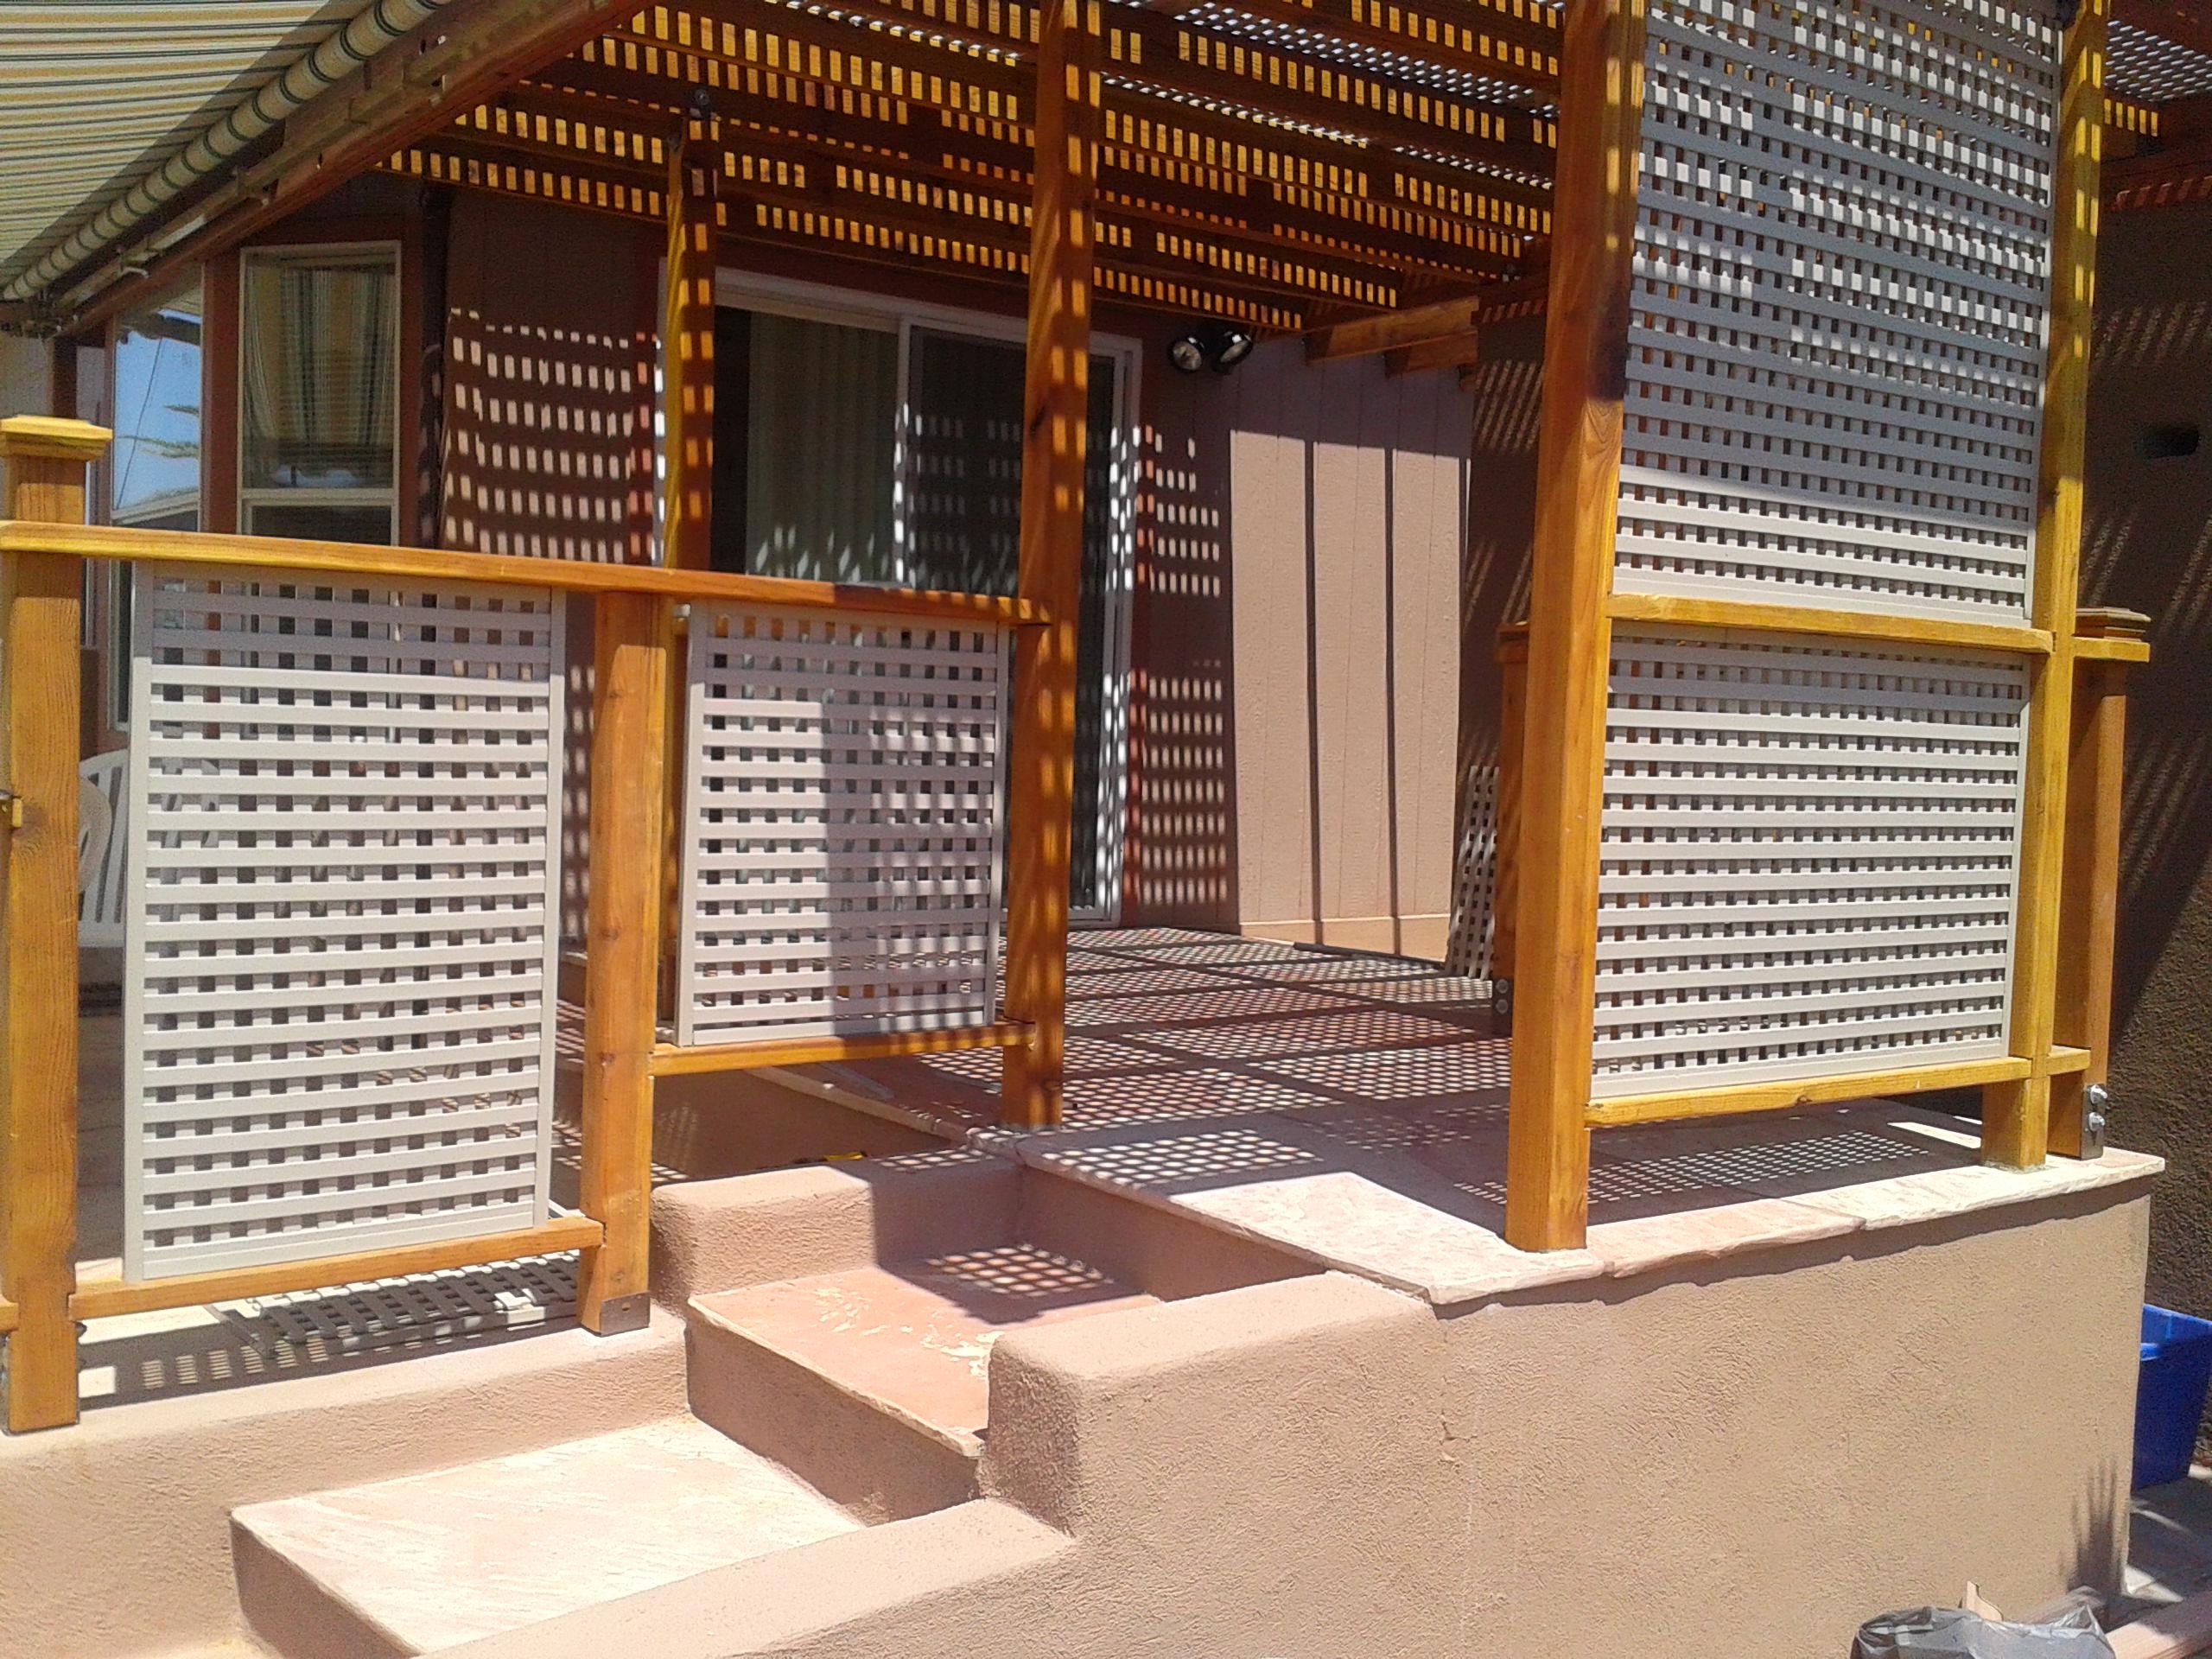
You can also frame in the lattice sheet with a u-channel, and instead of occupying the entire space from post to post; create your own look by inserting a smaller lattice sheet. To achieve this look for your railing, frame in the lattice sheet.
We suggest using a u-channel. Then set the panel between the rails. When the framed lattice panel is in the desired location, screw through the channel into the bottom rail. Then screw through the top section of channel into the top rail.
So now when you hear railing, I hope several fresh and beautiful ideas pop into your mind instead of the plain, unattractive railing. Visualize a railing that has been created into something unique and just the way you want it.
The DuraShell® lattice will prove to be the high-quality premium lattice that is perfect for this type of project. It is maintenance free and comes with a Lifetime warranty. We offer custom sheet sizes to fit any of your project needs.